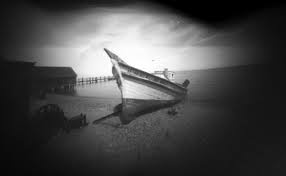
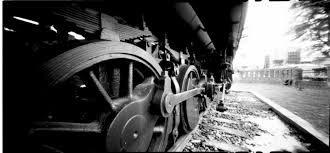
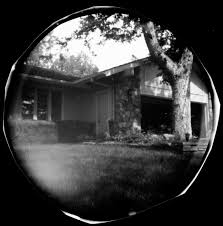
pinhole camera
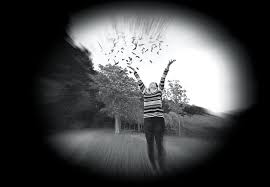
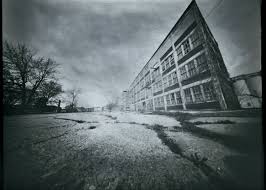
In class we were were asked to work in pairs to make notes about this image using the following questions:
- What is happening in this photograph?
- What can you see in the background?
- Why is the image circular?
- How could you explain the marks on the surface of the print?
- Why is the image darker around the edges?
- Why is the figure partly transparent (see-through)?
- How do you think the photographer made this picture?
- If you could speak to the photographer, what would you ask him?
- What title would you give this photograph and why?
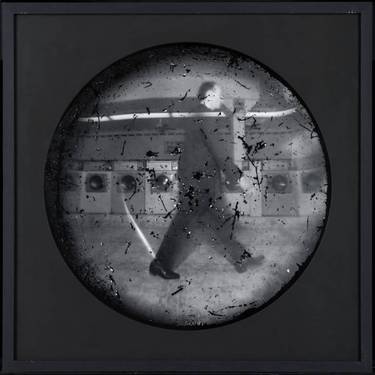
-In this image you can see a man walking through a launderette and the lense seems scratched,The photograph s also quite blurry and round which is quite different.
-I can see washing machines.
-It's circular because the camera is the washing machine so it makes the image circular.
-the marks are water and scratches inside the machine
-because it's the edge of the machine
-because the shutter speed isn't fast enough to capture the person walking
-by making the washing machine into a pinhole camera
-what inspired you to make a washing machine into a camera?
- the walking man
steven pippin:
|
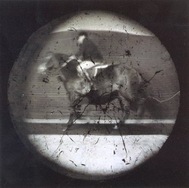
Pippin's work shows a strong interest in the mechanical, which he has said stems from an early childhood memory of seeing his father surrounded by the wires and tubes of a television set he was repairing. Pippin's early work was based on converting furniture and everyday objects into makeshift pinhole cameras which he then uses to take sympathetic photographs.
|
the pinhole camera:


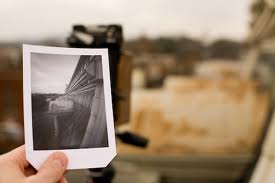
recipe for making a pinhole camera...
1x container (e.g. biscuit tin,chocolate powder carton etc.)
1x sharp knife
Black Gaffa/Duct Tape
A very thin, sharp pin
Black Matt paint and a brush (or black spray paint)
Aluminium foil (Tinfoil) or a soft drink can
A pair of scissors (optional)
Step 1:
Find a suitable container like a cocoa tin or box. Make sure it has a removable lid and that the material is light proof.
Step 2:
Paint or spray the inside, and if necessary the outside, of the container black. This will prevent light bouncing around inside, ensuring that you get a clear image. Make sure that the lid of your container is light proof and relatively easy to remove and replace.
Step 3:
Cut a rectangular hole half way up the container (approx. 2 cm square)
Step 4:
Cut a 2.5 cm square piece of aluminium foil and smooth it out. Use a pin to create a small hole in the centre of the tinfoil. You can also use a thin sheet of aluminium cut from a drinks can but be careful you don't cut yourself! If you're using aluminium sand around the pinhole making sure there are no rough edges.
Step 5:
Attach the tinfoil to the container making sure the pinhole is over the rectangular hole you already created.
Step 6:
Make a shutter flap out of card and/or tape that can open and close as you need it. Make sure that it completely covers the pinhole.
Step 7:
In the darkroom cut a piece of photographic paper to fit inside your container. Secure it in place with a small piece of tape if necessary. It should stay completely still throughout the exposure. Securely attach/replace the lid of your container and close the shutter.
Step 8:
Take the camera outside and find a suitable subject. Ensure that the camera is stable and can't be moved during the exposure. Open the shutter and expose the paper. Depending on the size of the pinhole and the brightness of the light your exposure can be anything from 30 seconds to 5 minutes. Make an educated guess and use your first image as a guide.
Step 9:
Close the shutter at the end of the exposure time and take the camera back to the darkroom. Carefully remove the paper and place it in the chemicals:
- Developer (1 minute)
- Stop Bath (a few seconds)
- Fixative (approx. 5 minutes)
